Windows Instructions
- If eduroam was installed previously, the certificate is already installed and this will usually be the case. If the certificate is missing, refer to this article.
- Check to see if eduroam needs to be forgotten
- Go to Start menu and search for and select Network and Sharing Center (You can also find this through Control Panel)
- Select Setup a New Network Connection

- Select Manually Connect to a Wireless Network

- Configure as follows:
Network name: eduroam
Security type: WPA2-Enterprise
Encryption type: AES
Uncheck the "Start Connection Automatically" box
Select Next
- Select Change Connection Settings
- Select Connect automatically when this network is in range and select the Security Tab
- Select Settings
- Configure as follows:
Select Bethel University eduroam Root CA 2016
Enable Identity Privacy: anonymous
Select Configure and make certain Automatically use my Windows logon name and password (and domain if any) is not selected
Click OK in this window. - From the Network Properties window select Advanced Settings
- Select the checkbox for Specify authentication mode
- Select User authentication from the dropdown menu and click Save credentials
- Have the user type in their username@bethel.edu and their MyBethel password
- Select Ok on the Advanced Settings window and the Network Properties window and the computer should automatically connect to eduroam
- If it doesn't just select eduroam from the wireless list
- If it doesn't just select eduroam from the wireless list
If the manual config process above does not work, try the old installer: https://eduroam.bethel.edu/eduroam-configs/CAT/win.html
This procedure is only used when the auto-configuration is unsuccessful. It involves the following steps: 1) remove the eduroamCAT app from the device, 2) download and install the certificate, 3) forget eduroam network and 4) configure for eduroam.
- Locate the eduroamCAT app and open it.

- Locate the profile and delete it.


- Locate the profile and delete it.
- Install the certificate. Using the phones web browser, go to eduroam.bethel.edu/root.crt

- When prompted, name the certificate Bethel eduroam
- Under "Credential use", select Wi-Fi

- Select OK
- When prompted, name the certificate Bethel eduroam
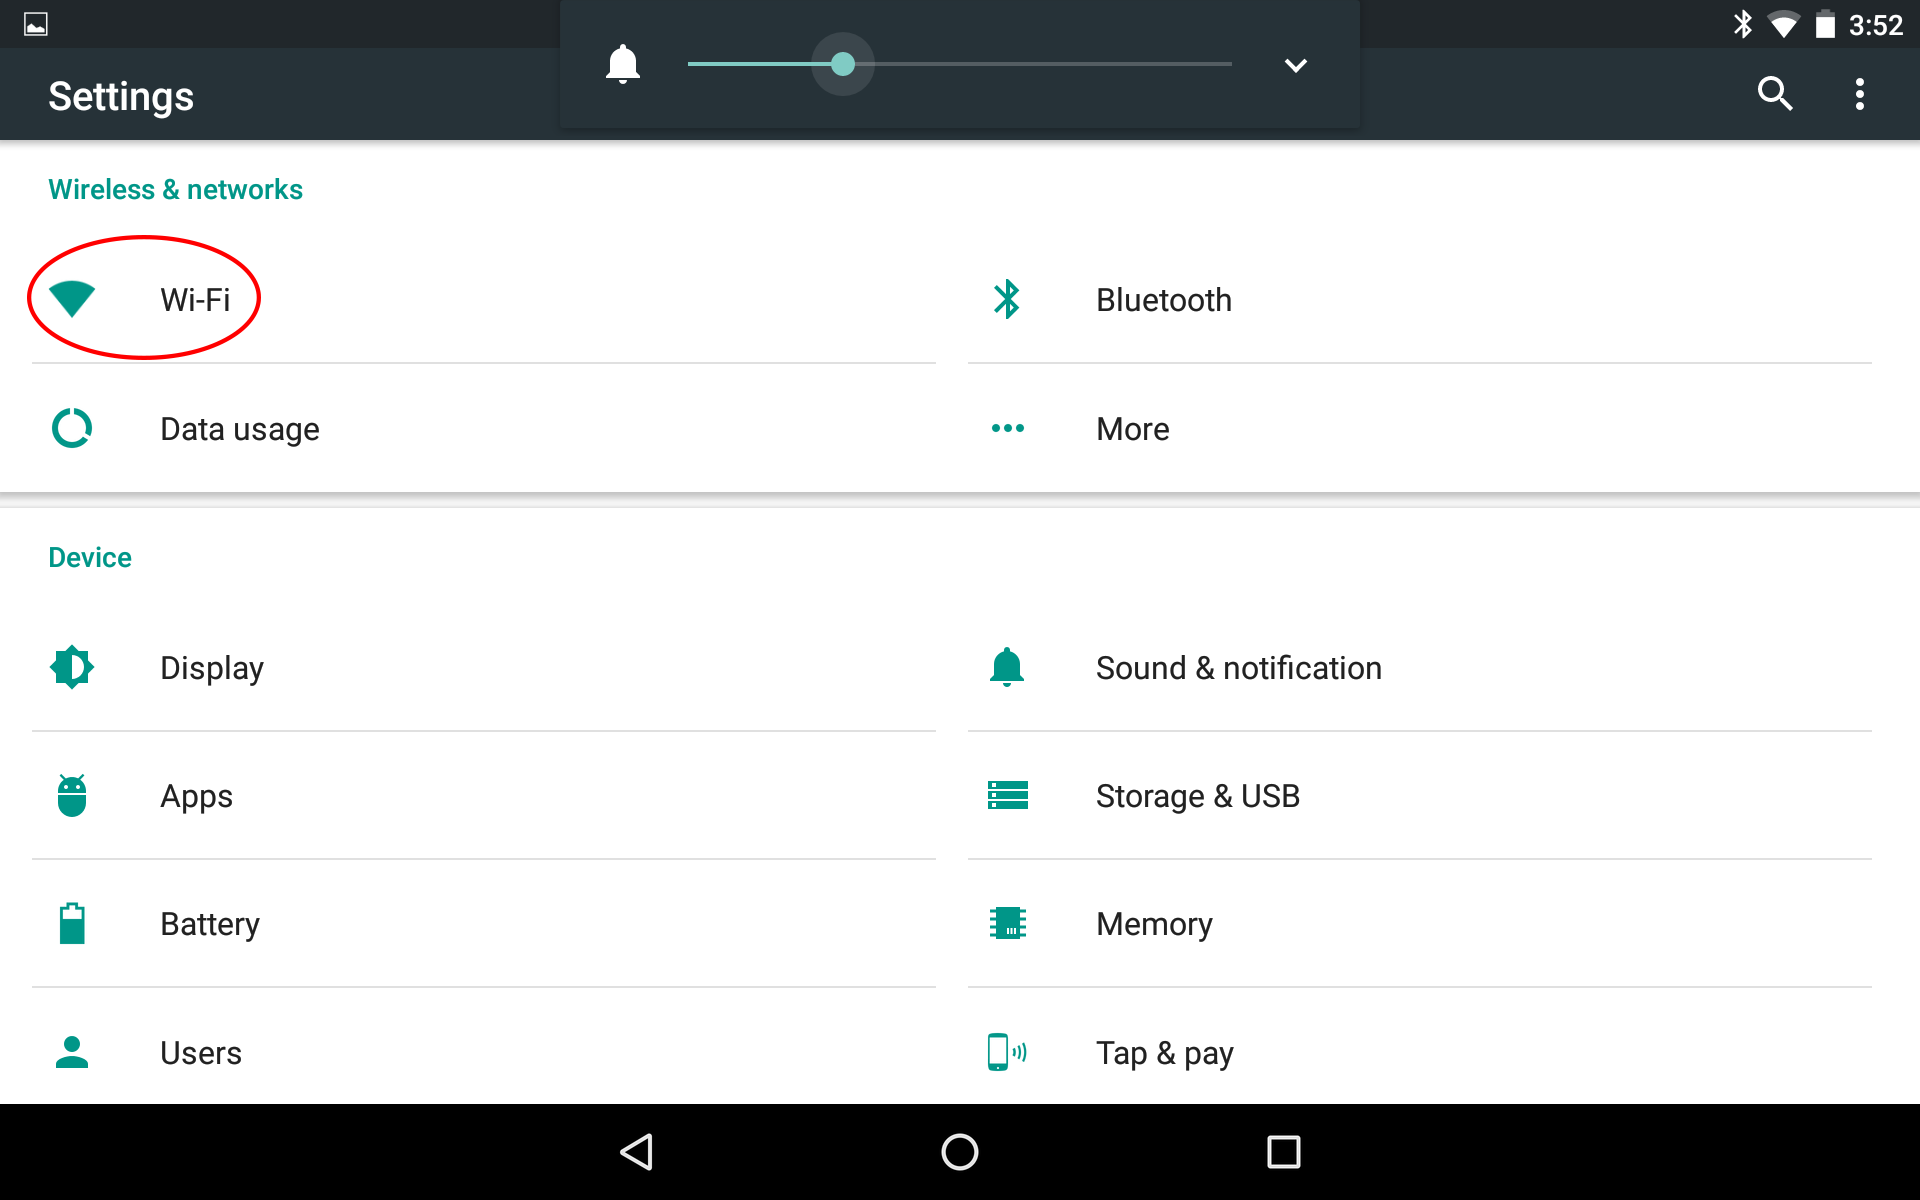
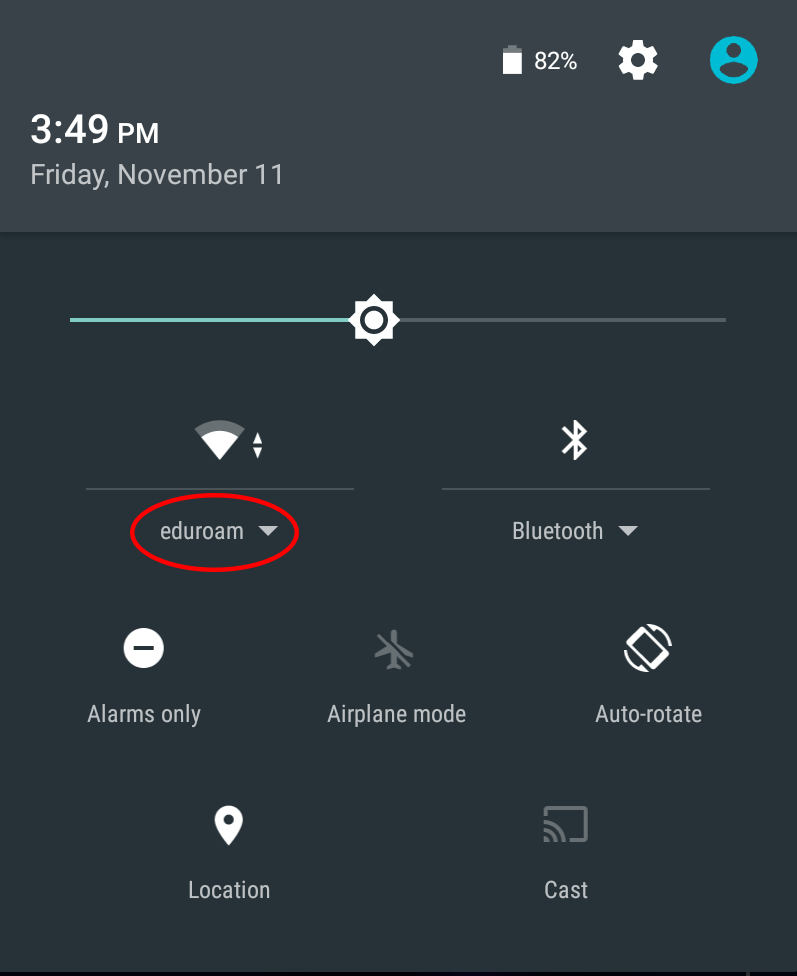
- Go to Settings and then Wifi by swiping down from the top of the screen to display settings

- Select eduroam
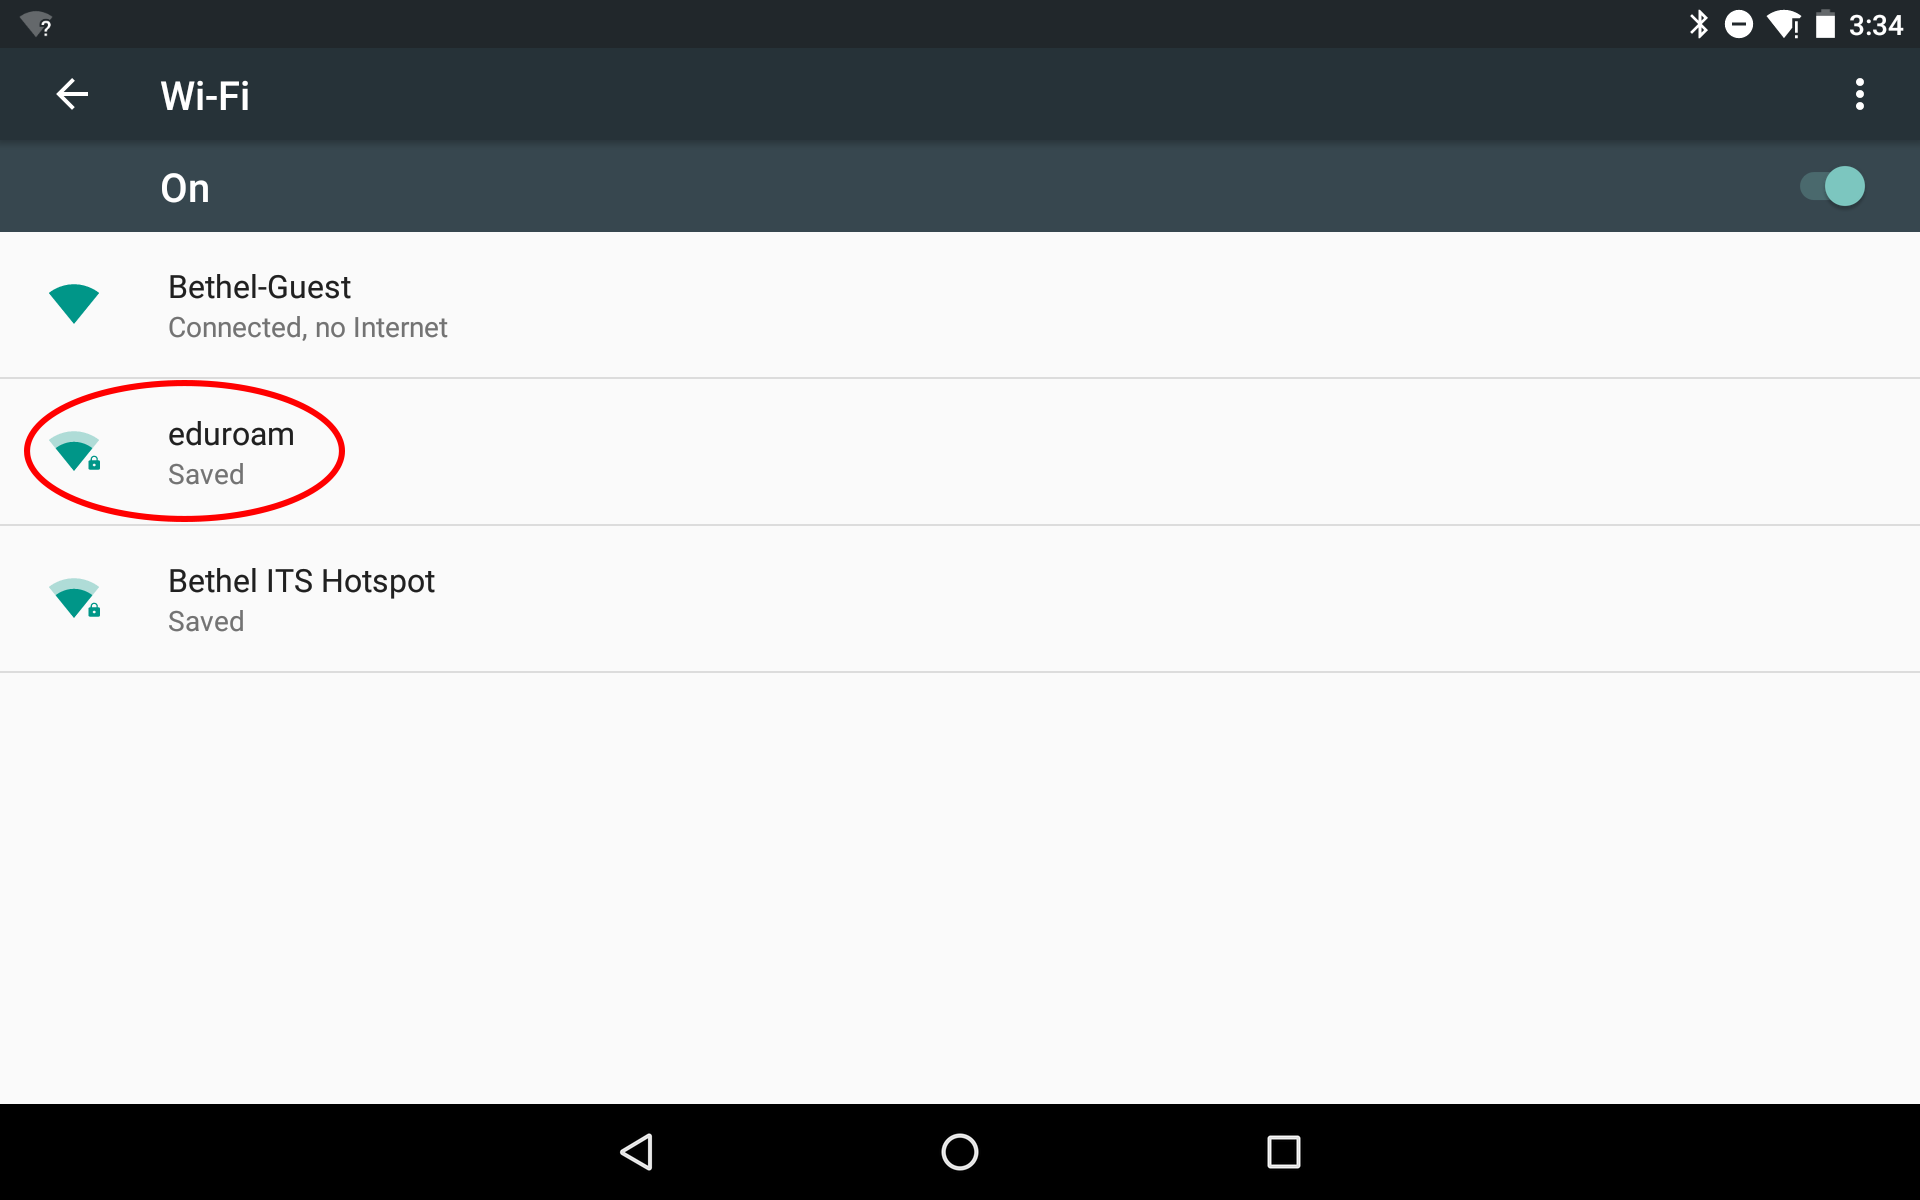
- If you see "Saved" underneath eduroam, select eduroam and choose "forget."

- If you see "Saved" underneath eduroam, select eduroam and choose "forget."
eduroam configuration, now that the profile has been removed and the network forgotten.
Click on eduroam in the Wifi settings and provide the following:
You may have to tap and hold until the option to manage info appears. From there you can input these settings
- Identity: username@bethel.edu
- Anonymous Identity: anonymous@bethel.edu
- Password: Bethel password
- EAP method: PEAP
- Phase 2 Authentication: MSCHAPV2
- CA certificate: Bethel eduroam
- Select "Save"

- This completes the manual configuration. Select eduroam from the Wifi access point options.
Important Information
If the device does not connect to eduroam quickly (within 30 sec) turn off and turn on wifi on the device.
If it still doesn't connect, then reboot.
Manual eduroam Configuration for Chromebooks
- Open Chrome and go to eduroam.bethel.edu/root.crt (This will start an automatic download of the root certificate)
- Go to Settings (bottom right corner)

- Click on Manage Certificates

- Go to the Authorities tab

- Import the "Bethel University eduroam Root CA 2016" certificate from the Downloads folder

- Make sure to check all three trust boxes

- Open the Wifi settings and connect to eduroam. Fill in the information just like below.
- Identity: = Bethel username (Do not include @bethel.edu)

- Click Connect and you should be done
- Note: If it says "Out of Range", try disconnecting from all networks -> restart -> then reconnect to eduroam